Long before floor plan software, there was graph paper — and it's still a genuinely good tool. The grid does two jobs at once: it keeps your lines straight, and it is the scale, because every square represents a fixed real-world distance. That's exactly why Gridsnap is built around a grid too. Here's how the paper method works, where it breaks down, and how the digital version keeps the best parts.
How to draw a floor plan on graph paper
- Pick a scale. With standard 5 mm squares, letting 1 square = 250 mm gives you 1:50 — a whole house fits on A3, a single room on A4. For bigger buildings use 1 square = 500 mm (1:100). Imperial graph paper (¼-inch squares) traditionally uses 1 square = 1 foot.
- Measure your rooms wall face to wall face, and note the width and position of every door and window. (Our step-by-step floor plan guide covers measuring in detail.)
- Convert measurements to squares and draw the exterior outline first. A 4.2 m wall at 1 square = 250 mm is about 17 squares. Round to the nearest half-square and pencil the true dimension alongside.
- Draw interior walls as double lines, one wall thickness apart — a half-square at 1:50 is close enough for a 100–150 mm partition.
- Mark openings: a gap in the wall for each door with a quarter-circle swing arc, a triple line across the wall for each window (see the floor plan symbols guide).
- Write the dimensions on — every wall length, every opening. The grid gets you close; the numbers make it usable.
Where paper hits its limits
- Revisions. Moving one wall means erasing it, its openings, and every dimension it touched — by the third revision you're redrawing the sheet.
- Rounding. Real buildings aren't built in neat 250 mm increments; a 3,340 mm wall is 13.36 squares, and those rounding errors accumulate around the plan.
- One fixed scale. Chose 1:50 and need the whole floor on one sheet? Start over at 1:100.
- Sharing and copies. A builder gets a photo of pencil on paper — no clean copies, no measurable print, nothing they can open in CAD.
The digital version: a grid that snaps
A snap-to-grid editor keeps the graph-paper workflow — you still work on a visible grid, lines still land straight — but the squares stop being approximations. In Gridsnap, you click and type the real dimension (3,340 mm means 3,340 mm), and the snap engine does what the grid did on paper: catches corners, keeps walls orthogonal, closes outlines exactly.
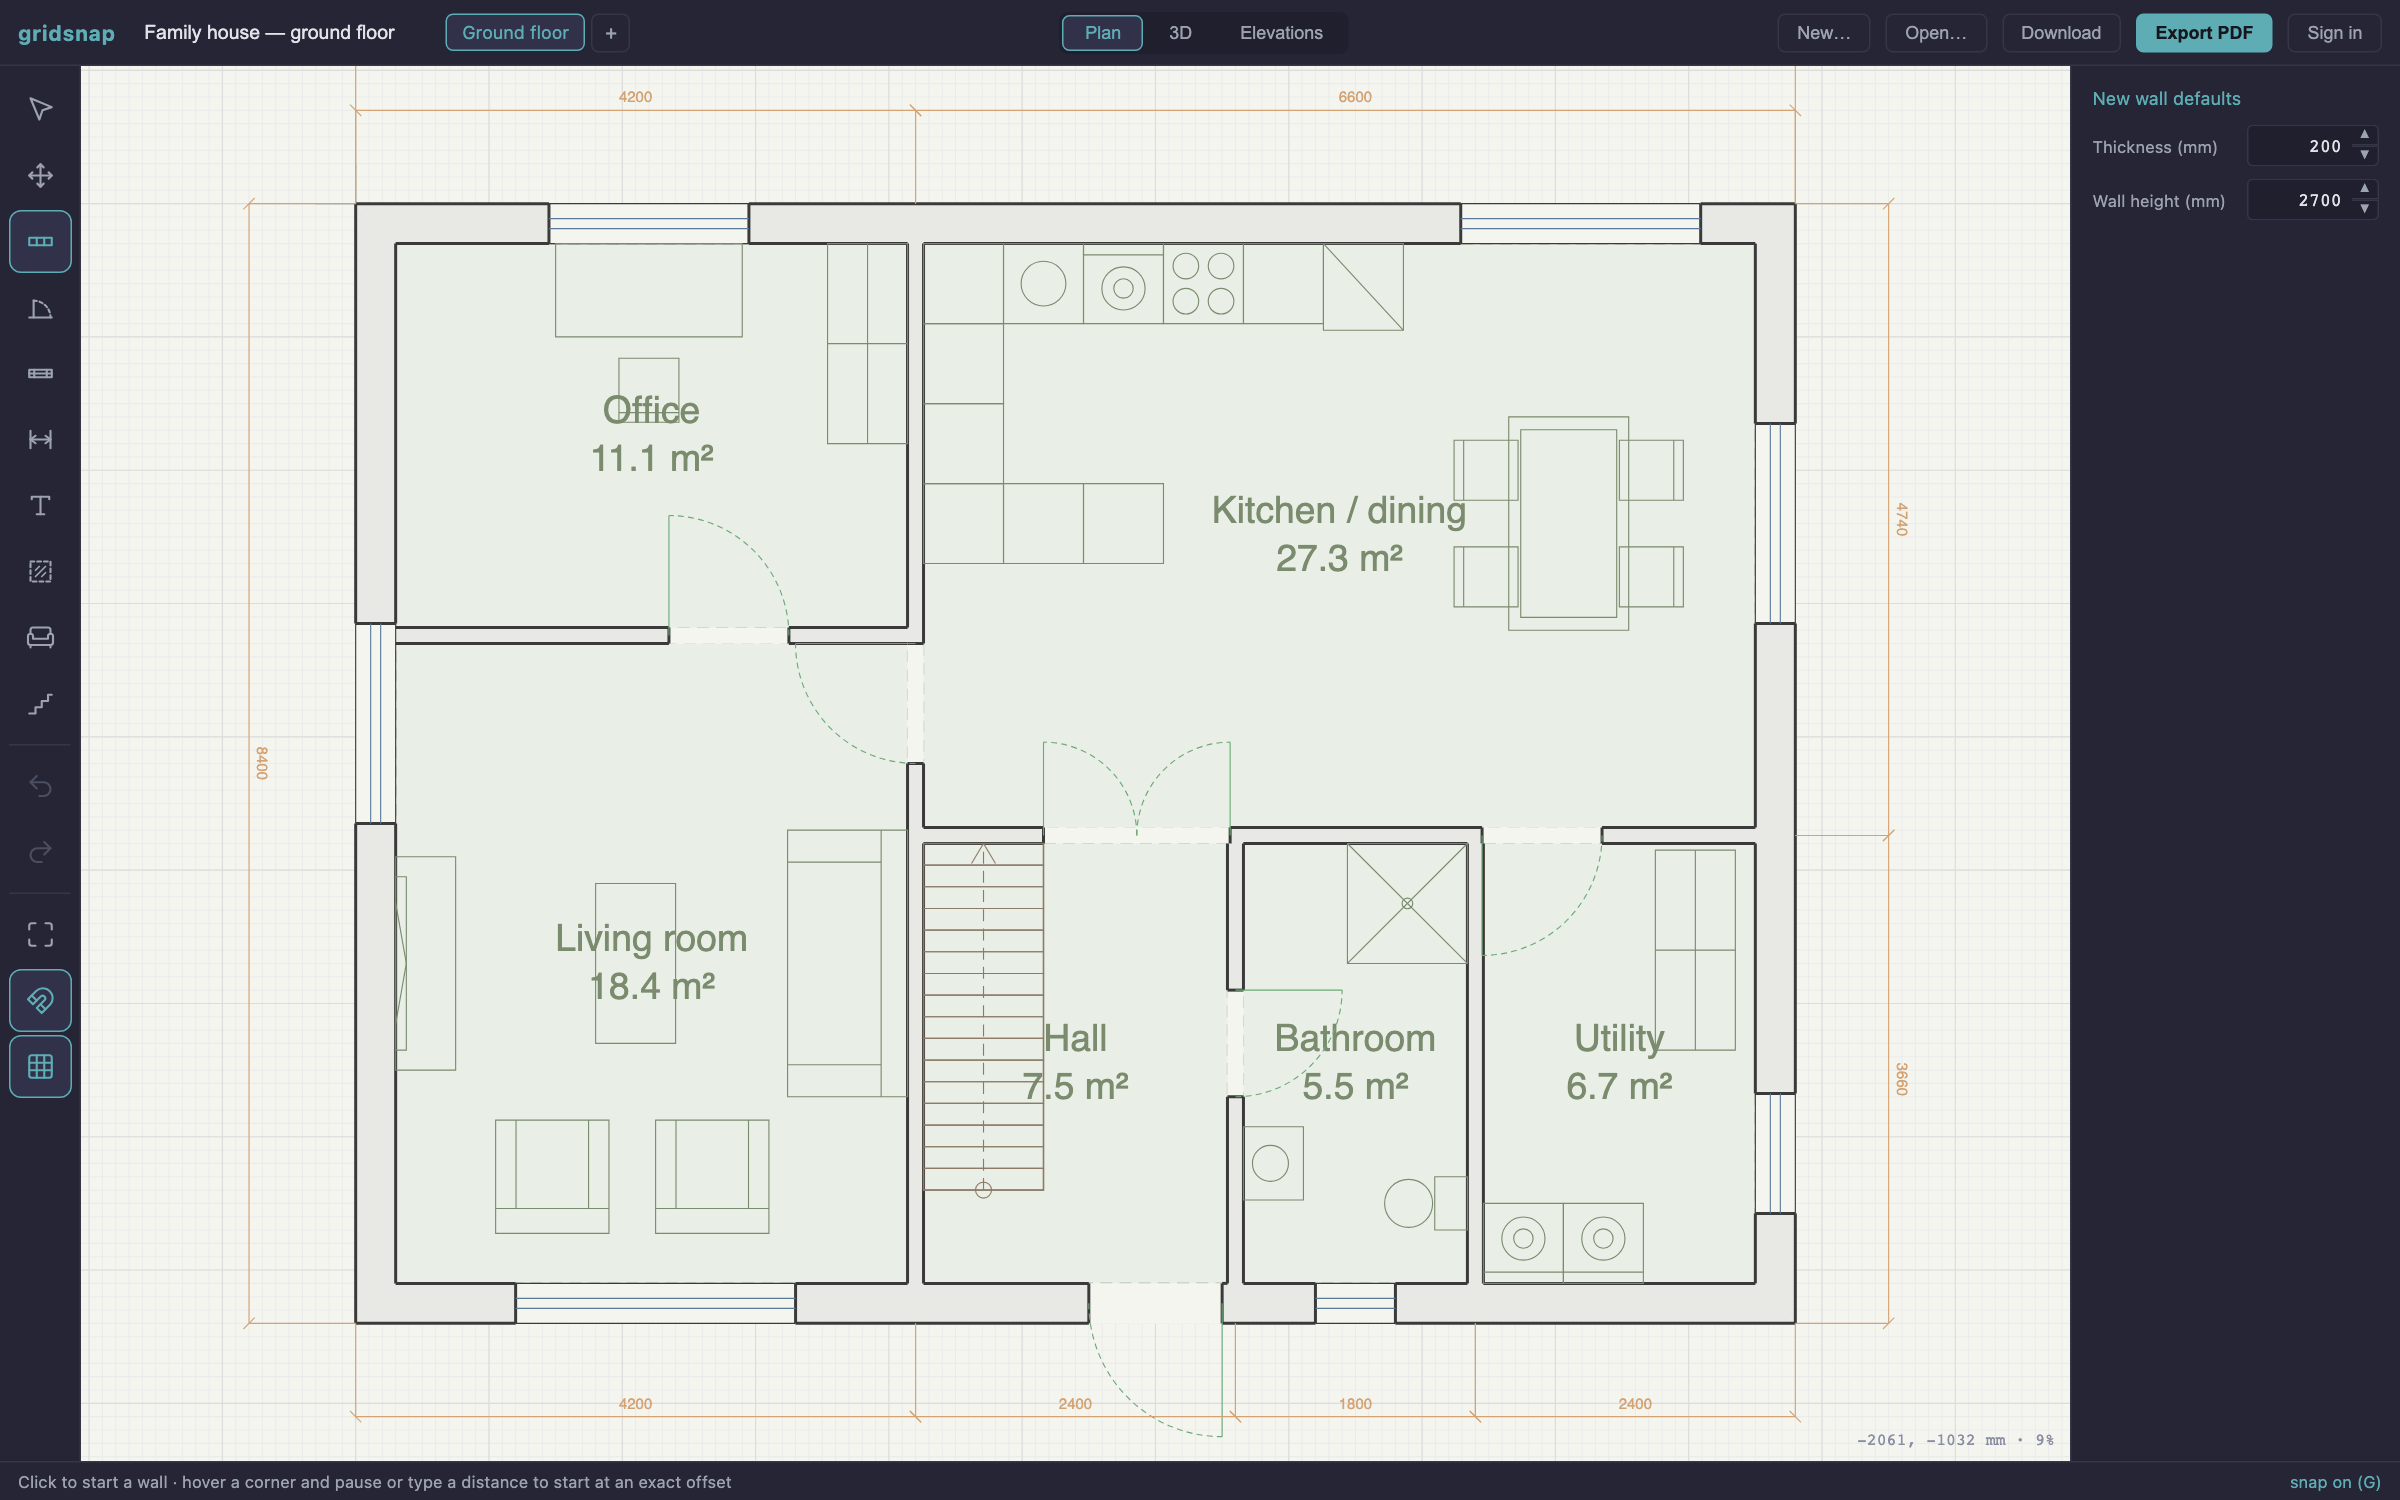
The paper problems disappear with it: moving a wall drags its doors, windows and dimensions along; the scale is chosen at print time (1:50, 1:100 or 1:200 on A4–A2) instead of up front; and the output is a measurable vector PDF or a DWG/DXF file for CAD — not a photographed pencil sketch. Like graph paper, it's free and there's nothing to install or sign up for.
Which should you use?
Graph paper is unbeatable for a first thinking sketch at the kitchen table — and it's the best way to learn what a floor plan actually is. The moment the drawing needs to be right — a renovation quote, a furniture purchase, a permit application, anything a contractor will measure from — draw it on the digital grid and print it to scale.