Choose Highlight under Annotations in the toolbox, then Rectangle, Circle or Polygon in the bar above the plan. A new highlight is translucent amber at 25 %, with no outline, so the plan stays readable through it.
Draw each shape
- Rectangle: click two opposite corners.
- Circle: click the centre, then the edge.
- Polygon: click each corner, then click the first corner, press Enter or double-click to close it. On a touch screen, use Finish polygon. A polygon needs at least three corners.
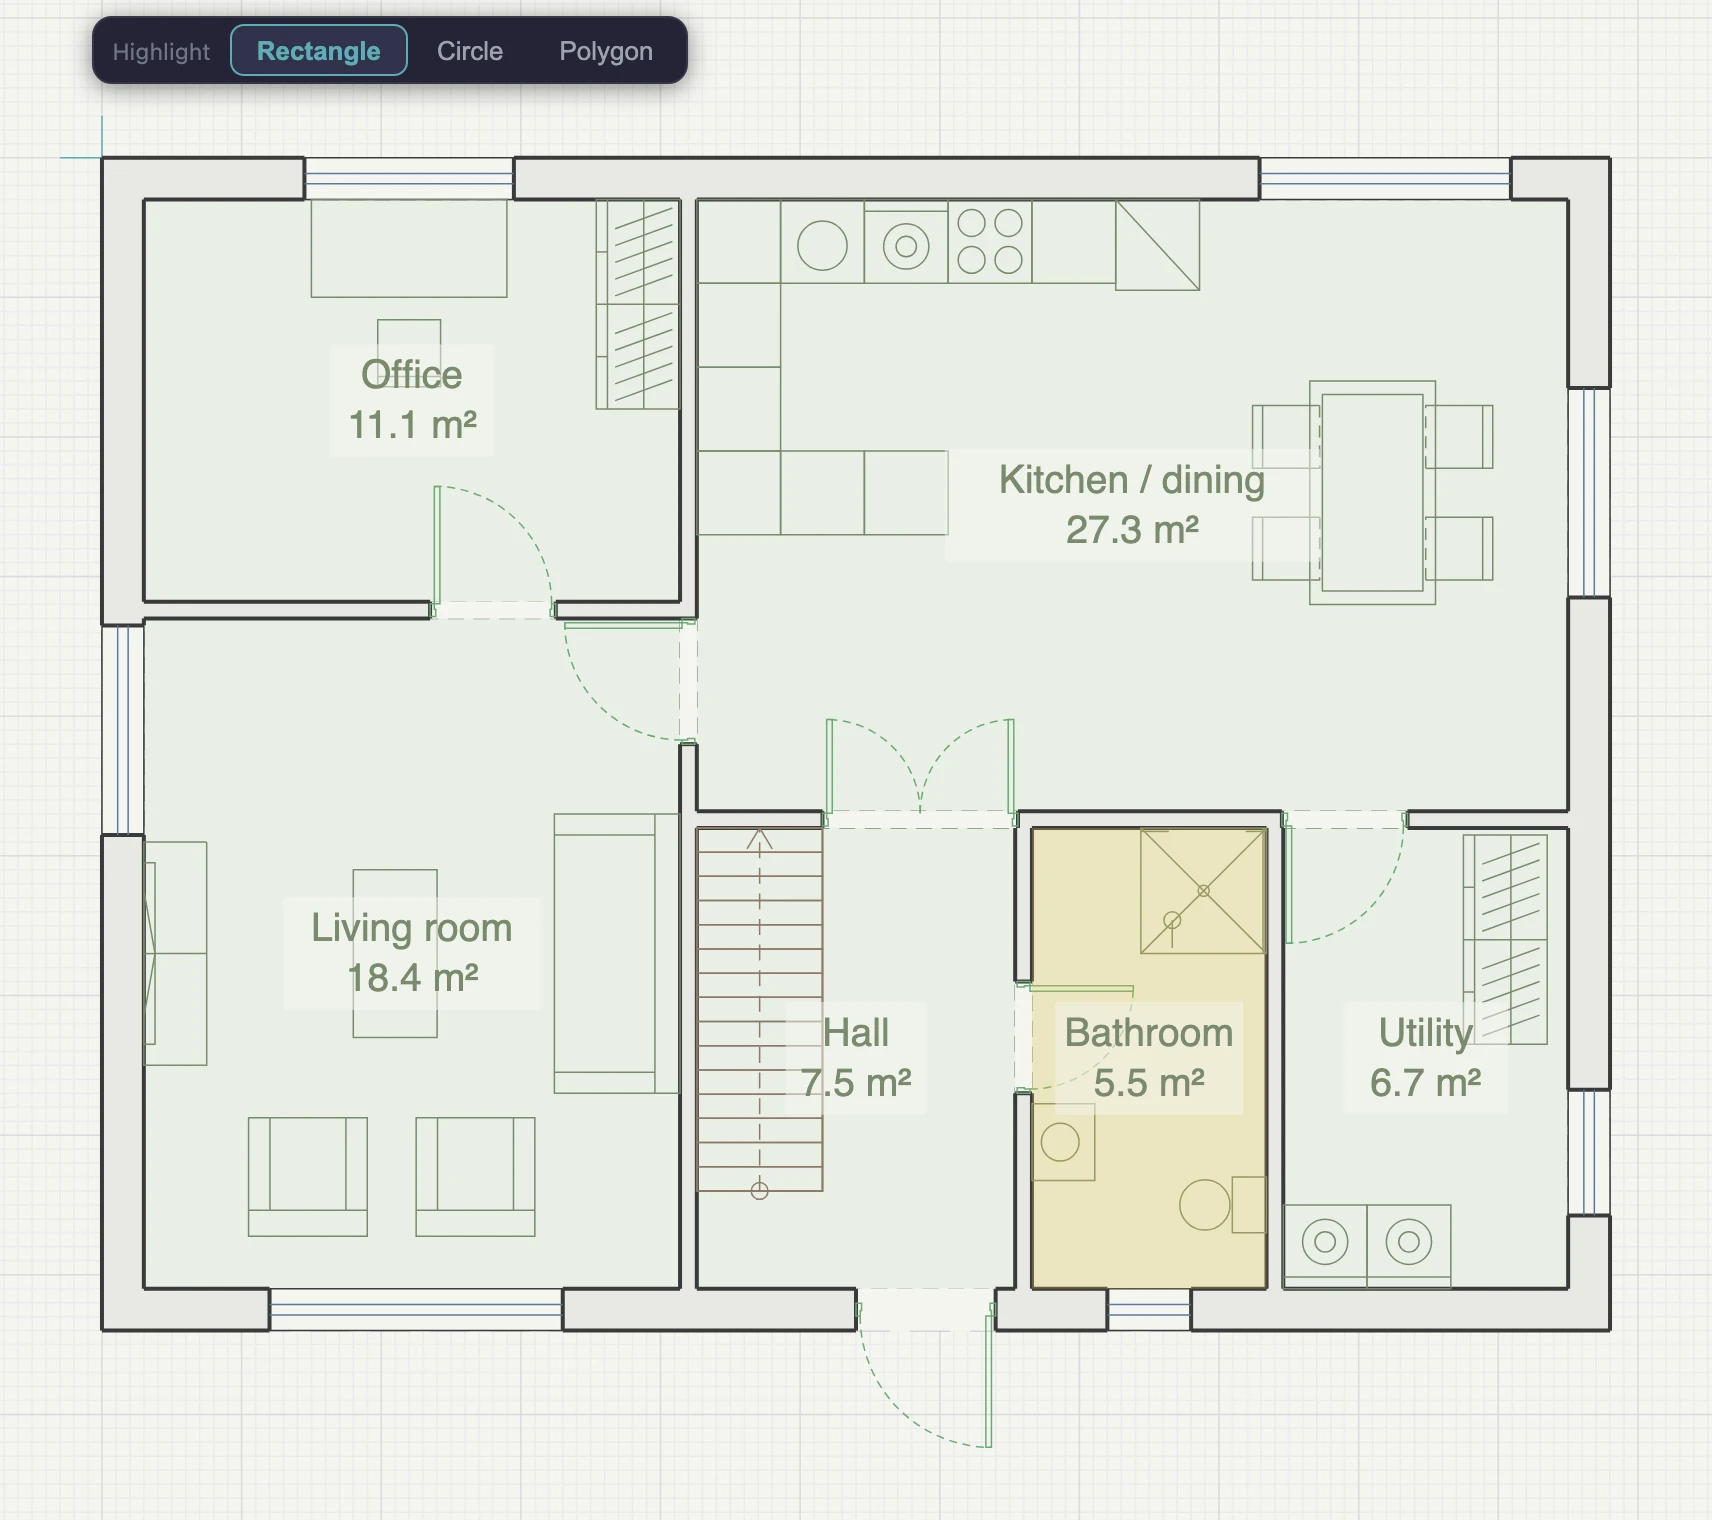
Change how it looks
Select the highlight and use the panel: Fill, Opacity and Outline (None, Solid, Dashed or Dotted). With an outline on, you can also set the Outline colour and Weight.
Highlight or a drawn shape?
A highlight is a drawn shape that counts as an annotation, so it hides with the others. Shapes from Draw shapes do not, unless you turn on Treat as annotation for one.
What this doesn’t do
- A highlight does not create a room or change an area, and it is not counted in any schedule.
- A highlight never becomes a legend row.
- It is not attached to the room under it. Move a wall and the highlight stays where it was.