Press T or choose Text under Drawing in the toolbox, click where the note goes, type it and press Apply. Enter starts a new line, and ⌘/Ctrl+Enter applies from the keyboard. Text works on the plan and in section drawings.
For a room’s name, use Room / area (A) instead. A named room shows its area, appears in room schedules and stays on the plan when annotations are hidden.
Change the look of a note
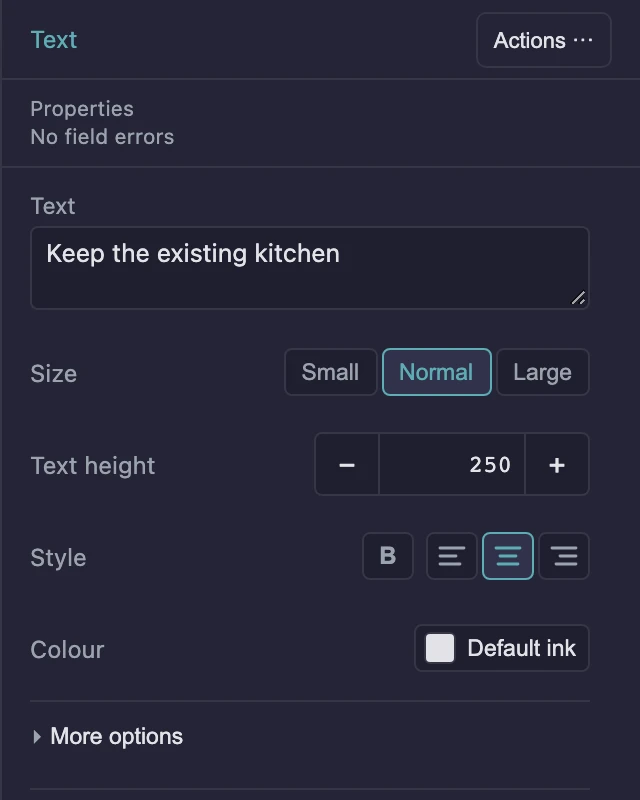
Select the note and use the panel:
| Field | What it does |
|---|---|
| Text | The words, on as many lines as you need |
| Size | Small (150 mm), Normal (250 mm) or Large (400 mm) |
| Text height | An exact height, from 50 to 2000 mm |
| Style | Bold, and left, centre or right alignment |
| Colour | A swatch or a hex value, or the default ink |
More options has the Wrap width (0 means no wrapping), a Background colour behind the text, Treat as annotation and the note’s exact position.
How big will the text print?
Text height is measured on the plan, like a wall. It prints smaller at a smaller scale. A 250 mm note is 2.5 mm tall on paper at 1:100 and 1.25 mm at 1:200, so if you print at 1:200 you will usually want Large or an exact height.
Text that is part of the drawing
A note hides with the other annotations and can be left out of an export. To keep a piece of text on every version of the drawing, turn off Treat as annotation under More options. A note like that follows the layer settings only.
Plans drawn before annotations existed follow the same rule: their text labels count as annotations until you turn this off. They still print by default.
What this doesn’t do
- A note is not attached to anything. To point at something, use a callout.
- A note never appears in a schedule.